
New Blog!

Please visit me at my new blog, PrettyLittlePaperThings for new and exciting posts!
Showing posts with label tips n tricks. Show all posts

Sunday, September 25, 2011

-:¦:- Pinterest is just sooo cool -:¦:-


Ever since I got my invitation to join Pinterest I have been addicted! I love spending time on there when I have a spare minute.  I've organized my ‘pins’ into boards; one of my favourite ones is my Inspirational Quotes Board… Just like the awesomely cool Inspiration Boards that Oprah always has on her show, these virtual boards I can go to look at each day or whenever I’m feeling the need for some personal, crafty or teacherly inspiration.

What I love about Pinterest is the ability to be able to ‘pin’ pictures to your boards without having to save the websites they are from or saving the pictures to your computer (keeping your Hard Drive free of clutter!). So when I’m looking for something that I’ve found, I don’t have to go saving the website link cause if your like me, whenever I save the link I either:
  1. Never return to it, cause there are so many I’ve bookmarked!
  2. When I go to look for the page, I cant find it!!

I’ve been using Pinterest for planning my classroom, getting ideas for everything from decorations to party games and food! I’ll be blogging about some of these treasures and sharing what I’ve found.

Look me up,let's get PINning!!! 

Have a wonnnnderful day!
· ´¨¨)) -:¦:- -:¦:-
¸.·´ .·´¨¨)) Live with integrity.... -:¦:-
((¸¸.·´ ..·´ Create with passion!
-:¦:- ((¸¸.·´* -:¦:- NikkiNix

Sunday, January 9, 2011

Shading with Copic Markers


Marianne Walker is the Product Specialist who trains the Certification Instructors for Copic Markers.  Her blog is: http://ilikemarkers.blogspot.com/ and if you go down a bit on the right and start in her 2008 archives there is a LOT of valuable tutorials in there!!   


There's also some exciting new things coming out at CHA this month including this much anticipated book on Shading! Notice the blog post title says part 2, there are other updates to check out as well ;)


Enjoy!
Nikki 

Saturday, January 1, 2011

Happy 1/1/11 !!! ... and I'm selling my beloved QK Revolution & dies!!

Oooh I sure hope this year keeps each and every one of you happy, healthy and inspired to create pretty little paper things!!

To start the new year, with the help of my brand spankin' new iPhone4 (insert wild cheering here) I will have no excuse for not having a camera nearby lol. So without haste, here's my evolved and messy craft area, I call it "Grand Central Station" because everything is within an arm's reach, including my laptop under the table to the left running my Silhouette digital craft cutting machine!!  Notice to the left, up past the ribbon, and the Silhouette cutter is my brand spankin new Big Shot express *insert even wilder cheering here* that I have been waiting four months for since I got it at 60% off with free shipping (to the US) so I had to wait for Hubbyto go get the darned thing from Florida, but it was well worth the wait!!

...look to the left...

... my cockpit, everything within arms reach ...
... and look to the right...

So, since I have this new Big Shot, I am selling my QK Revolution... and quite a few 2X2 and alphabet dies that I have lovingly used so much that my Hubby even recognizes them in my scrapbook - eek!!

If you are interested, drop me a line before I put it up on Kijiji and eBay because I still have the original 4X4 platform, and am selling it with the 12X4 long platform and the original case.  Because I am in the Toronto area, it will be quite a hefty shipping price I'd imagine to the US or oveseas, so if you are a local gal... happy new year!!!  It'll be yours for a little more than a penny in the pan!!  And if you are interested in some well loved, gently used dies - let me know!!


I'll also add a video of my book of dies as well :)
Please email me if you are interested.


Have a haapppppy new year!!
Nikki

Sunday, July 25, 2010

Carte Postal TH Star Booklet

I got this wonderful idea for making mini books that open up into stars and have made quite a few really cute ones over the last year.

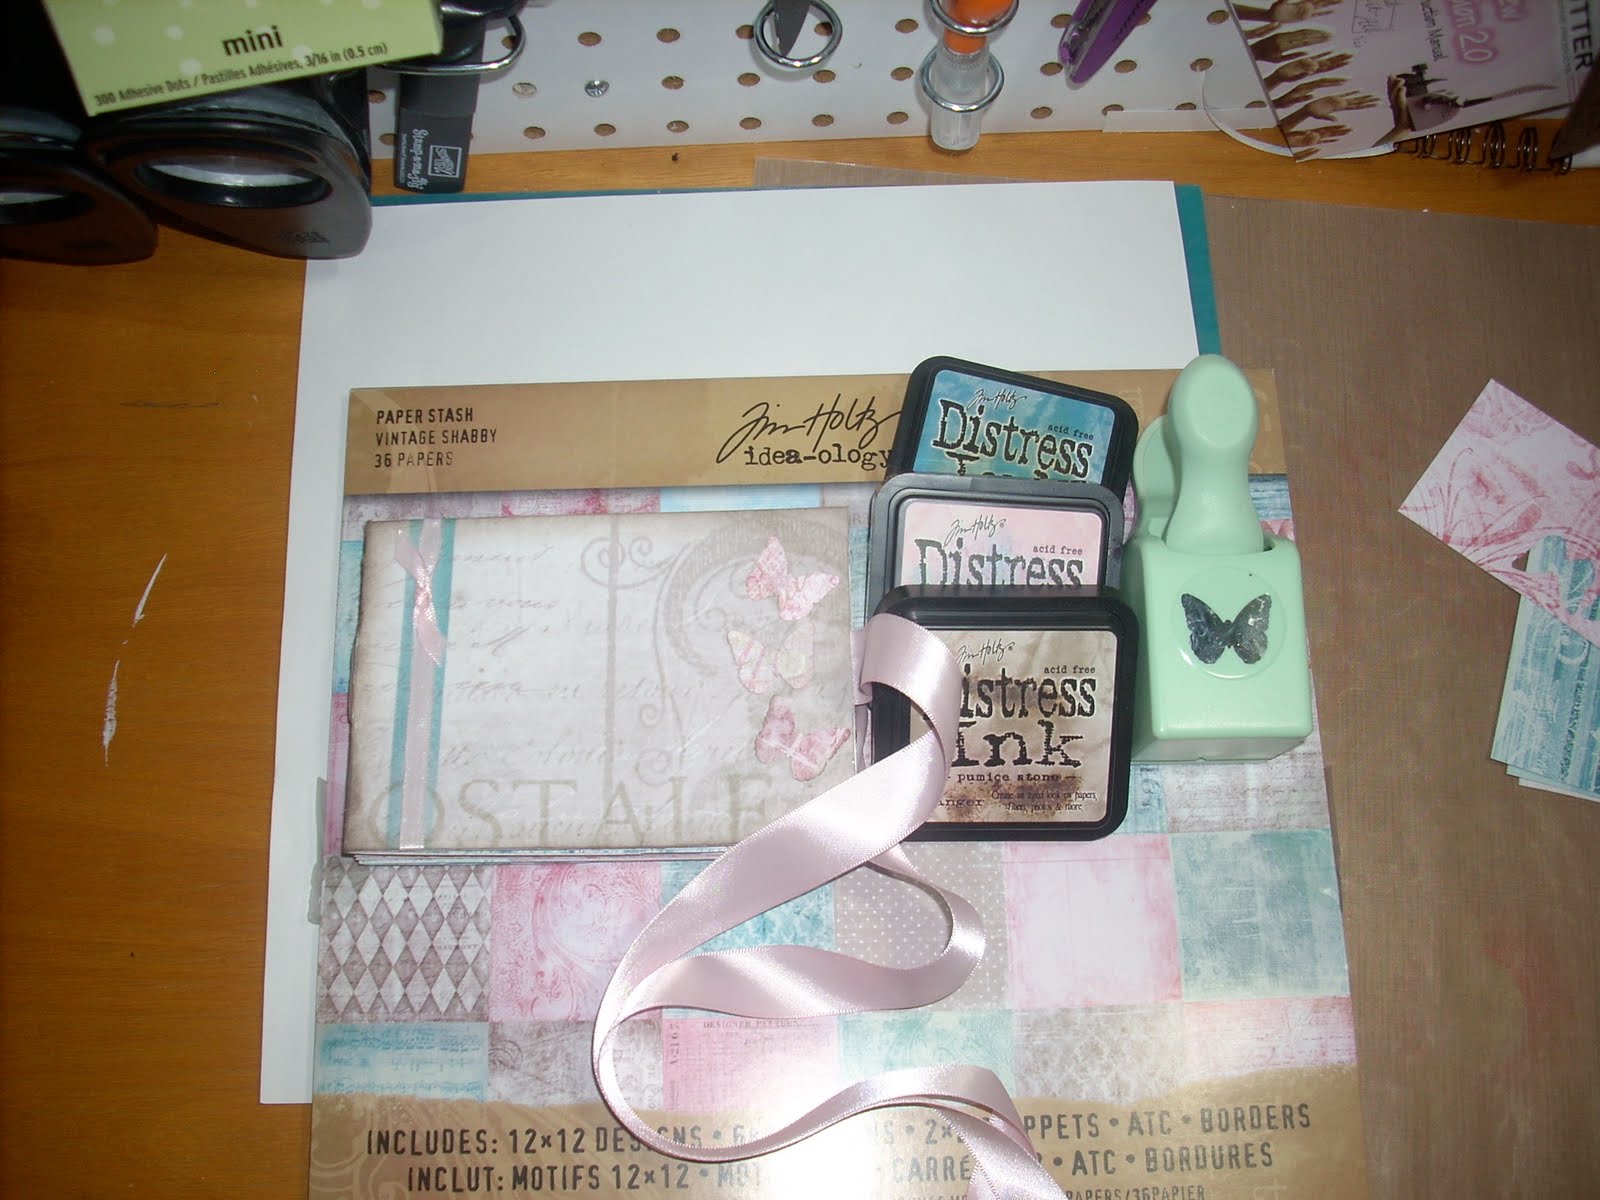
So, I decided to whip one up using the Tim Holts Vintage Shabby paper pack, the distress inks and Martha Stewart butterfly punch to create this album for a birthday present. I also did some money-origami and folded $5 bills into shirts and stuck them in on one page.  I added some cute embellies and ribbon from my stash and it was perfect!


· ´¨¨)) -:¦:- -:¦:-
¸.·´ .·´¨¨)) Live with integrity.... -:¦:-
((¸¸.·´ ..·´ Create with passion!
-:¦:- ((¸¸.·´* -:¦:- NikkiNix

Tuesday, July 20, 2010

Tips & Tricks: embossing faux snakeskin paper


· ´¨¨)) -:¦:- -:¦:-
¸.·´ .·´¨¨)) Live with integrity.... -:¦:-
((¸¸.·´ ..·´ Create with passion!
-:¦:- ((¸¸.·´* -:¦:- NikkiNix

Tuesday, May 11, 2010

Stamp Storage

Well, I'm on a video roll now... here's my stamp storage solution... sorry for the rambling ;)


· ´¨¨)) -:¦:- -:¦:-
¸.·´ .·´¨¨)) Live with integrity.... -:¦:-
((¸¸.·´ ..·´ Create with passion!
-:¦:- ((¸¸.·´* -:¦:-    NikkiNix

Wednesday, April 28, 2010

a Tealight Cake - how cuuute!!


· ´¨¨)) -:¦:- -:¦:-
¸.·´ .·´¨¨)) Live with integrity.... -:¦:-
((¸¸.·´ ..·´ Create with passion!
-:¦:- ((¸¸.·´* -:¦:-    NikkiNix

Tips n Tricks: Working with wood & chipboard letters

Here's an awesome post showing exactly how to cover wood and the same goes for chipboard letters.  I had to figure this out the hard way with my Baby album :)


I must also say that using the finger-xacto knife thingy is sooo much more precise than pre-cutting to the edge of the letter.  If you don't have one yet, this $5 bargain will become your best friend!


I have a cute pic from last night, my table is in place, but shelves will come later this week !

Have a wonnnnderful day!


· ´¨¨)) -:¦:- -:¦:-
¸.·´ .·´¨¨)) Live with integrity.... -:¦:-
((¸¸.·´ ..·´ Create with passion!
-:¦:- ((¸¸.·´* -:¦:-    NikkiNix


Sunday, April 11, 2010

Tips and tricks: FREE Fonts and sentiments and quotes

Here's a great post on Free Fonts sites, 
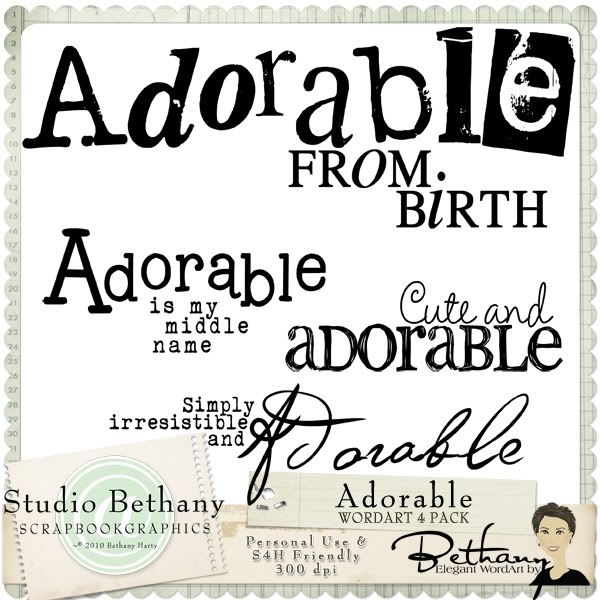
and I don't believe I've introduced you to Bethany 
and her beautiful and inspiring word art yet.


· ´¨¨)) -:¦:- -:¦:-
¸.·´ .·´¨¨)) Live with integrity.... -:¦:-
((¸¸.·´ ..·´ Create with passion!
-:¦:- ((¸¸.·´* -:¦:- NikkiNix

Friday, April 9, 2010

Tips & Tricks: Colouring darker skin tones

I simply ADORE Chrissy's work, and after watching this video, I think her daughter's a hoot!!


· ´¨¨)) -:¦:- -:¦:-
¸.·´ .·´¨¨)) Live with integrity.... -:¦:-
((¸¸.·´ ..·´ Create with passion!
-:¦:- ((¸¸.·´* -:¦:- NikkiNix

Thursday, March 25, 2010

Tips & Tricks: Building a better card.

Michelle has an awesome tutorial on building a better card;she talks about the following design elements that designers use: colour, grounding, repetition and the visual triangle. .
· ´¨¨)) -:¦:- -:¦:-
¸.·´ .·´¨¨)) Live with integrity.... -:¦:-
((¸¸.·´ ..·´ Create with passion!
-:¦:- ((¸¸.·´* -:¦:- NikkiNix

Wednesday, March 10, 2010

Tips & Tricks: Colouring stamps with Copic Markers


· ´¨¨)) -:¦:- -:¦:-
¸.·´ .·´¨¨)) Live with integrity.... -:¦:-
((¸¸.·´ ..·´ Create with passion!
-:¦:- ((¸¸.·´* -:¦:- NikkiNix
Thursday, February 4, 2010

Tips & Tricks: Adding colors to digi stamps before printing

One last post before I leave...
...to go find YOURRRR blog candy (tee hee heee)...

This is a great tutorial on adding colour to digital images, how eaaazy peeeezeeeeyyy - and then resize, and then add some text and... well, I gotta add some Copic details and ... well, you get it ;)

But of course !!  Don't forget my
Pretty Little Tropical Thing
BLOG CANDY
- One entry for already being a BBFF,
- One entry for being a BBFF at the end of the contest,
- One entry for each comment made during the contest,
- The possibilities are endless!!
Contest deadline: Feb 23rd, 2010
Click here for the details

· ´¨¨)) -:¦:- -:¦:-
¸.·´ .·´¨¨)) Live with integrity.... -:¦:-
((¸¸.·´ ..·´ Create with passion!
-:¦:- ((¸¸.·´* -:¦:- NikkiNix

Monday, January 18, 2010

Thanks chick ;)

The stickles do not photograph well on this shot, but it was a fun card to make. I tried the easel card again, in a 6X4 size but I don't like how long it ends up, I much prefer dimensions closer to a square, or with a wider base and not so tall. Ever since that Copic Challenge with different skin tones, I've intentionally been working this image every which way because it's quick and fun to colour. This one has dark hair, I need some more grey tones to attempt black or very dark hair but for now, this is it. Stay tuned for my take on a blond, coming very soon :) Ope! That little bit peeking at the bottom is the inside of the card, it wasn't sitting flat when I took the pic.
I have this paper pack, meant for tearing as the inside is a shade lighter than the outside which is really pretty but the colours are soooo close to Copics it's awesome! Take a look at my Copic coloured white ribbon and the paper circle backing on my thank you. Neato!

And here's the stars of the Copic show, didn't have time to write them down, just took the pic this time - see below for more cards.


- One entry for already being a BBFF,
- One entry for being a BBFF at the end of the contest,
- One entry for each comment made during the contest,
- The possibilities are endless!!


Get your own free Blogoversary button!


Contest deadline: Feb 23rd, 2010
Click here for the details

Thanks Chick

Stamps: Rachel
Paper: Neenah white cardstock, from my stash
Ink: Memento Tuxedo Black, my computer printer, copic markers and airbrush
Accessories: ribbon


· ´¨¨)) -:¦:- -:¦:-
¸.·´ .·´¨¨)) Live with integrity.... -:¦:-
((¸¸.·´ ..·´ Create with passion!
-:¦:- ((¸¸.·´* -:¦:- NikkiNix

Sunday, January 10, 2010

Get Organized - Step 5: Attack

Next is the ATTACK!
  1. De-Junk: get rid of the stuff you don’t use, need, or want

  2. Give everything a home: you’ll more likely put it away when you’re finished

  3. Categorize then containerize: fit the stuff to the container

  4. Label: label, label, label!

Take everything out of the space that you’re working on and categorize it in a way that makes sense to you, and then get containers to fit the stuff. I recently bought 4 or 5 clear plastic storage containers thinking I wanted to get organized. I had to fit my stuff to the container rather the container to my stuff, which has been frustrating. I should have categorized the stuff I wanted to organize and then bought containers to fit. Lesson learned.

Finally, labeling. This is my favorite part! You could buy a labeling machine which is anywhere from $10-$30 but that's no fun, I use post-it notes and then "I got scrappy with it" and made some cute labels. A fun idea for moms with young children is to label every drawer and cupboard to help teach your children where things go and also how to read. For non-readers, label with pictures. Having labels on drawers and cupboards makes putting things away into a game for young children. They’ll want to help if they think they’re playing a game!

YAYY! Mission accomplished! Post some pics of your before and after, we'd love to cheer you on!!!

... now, where's next??

· ´¨¨)) -:¦:- -:¦:-
¸.·´ .·´¨¨)) Live with integrity.... -:¦:-
((¸¸.·´ ..·´ Create with passion!
-:¦:- ((¸¸.·´* -:¦:- NikkiNix

Saturday, January 9, 2010

Get Organized - Step 4: Analyze

As you go through your house (or craft area), notice where clutter collects and focus on finding a solution for those areas.

For example, paper causes organization problems for most people. When bills come in they go into a mail folder sorted by recipient upstairs, then I pay my bills online in the upstairs in the office and shred up there as well. Hubby pays his bills the old fashioned way so the mail gets bundled once a month for the trip to the bank, then ends up in the car for another few weeks and eventually comes back in the house onto the kitchen table. What do I do, I refile it back into the mail folder upstairs and he sees it again and again... we obviously need to rethink that system.
Now, another thing i do is sort the recycling before the mail even reached the mail folders so it never makes it past the front door.

Analyzing the problem areas in your house is vital. Walk through your house and notice what is and isn’t working. The areas that need help are the areas with clutter. Let your house and your habits point out solutions for you.

... Stay tuned, more to come...

· ´¨¨)) -:¦:- -:¦:-
¸.·´ .·´¨¨)) Live with integrity.... -:¦:-
((¸¸.·´ ..·´ Create with passion!
-:¦:- ((¸¸.·´* -:¦:- NikkiNix

Friday, January 8, 2010

Get Organized - Step 3: Strategize


Next think about prime space - the space from your knees to as high as you can reach. When you organize things on shelves or in stacks, use that space first because it’s most visible and easiest to get at. Higher than you can reach or lower than your knees is secondary space. Only use that after you’re filled up the prime space or with things that you get at infrequently

Scrapbooksetc has some great storage ideas:
If you have some more ideas - please comment :)

All comments put another ballot into my
- One entry for already being a BBFF,
- One entry for being a BBFF at the end of the contest,
- One entry for each comment made during the contest,
- The possibilities are endless!!
Get your own free Blogoversary button!
Contest deadline: Feb 23rd, 2010
Click
here for the details
... Stay tuned, more to come...

· ´¨¨)) -:¦:- -:¦:-
¸.·´ .·´¨¨)) Live with integrity.... -:¦:-
((¸¸.·´ ..·´ Create with passion!
-:¦:- ((¸¸.·´* -:¦:- NikkiNix
Thursday, January 7, 2010

Get Organized - Step 2: SORT

To begin the decluttering process, start with 5 boxes, labeled as follows:

  1. Garbage (Toss it)
  2. Donate (To someone who needs/could use it)
  3. Another Room (The “Another Room” box is for items that don’t belong in that space. Instead of putting those items away immediately, put them all in a box and put them away after you’re completely finished. If you put things away as you find them, you’ll get distracted in other rooms and never finish the original space. )
  4. Think About (The “Think About” box is for items that you need to give some more thought. There might be some items, etc, that you aren’t ready to give or throw away just yet *scrapbooker alert* Put them on probation and wait three months. If you don’t USE THEM or think about those items in three months, get rid of them!! Promise!!)
  5. Return (The “Return” box is for items that you’ve borrowed or for purchased items with tags still on. Return the borrowed items to the lender and take the unused tagged items back to the store.)

    Begin with one small area and make a huge pile of everything on the floor. You can tackle small areas at a time to make it less overwhelming ;) I was thinking of just organizing my craft area, not the whole house quite yet LOL ... Start by taking things out of previous containers so you can see it all. This will help you sort and categorize. Make sure your 5 containers are clearly marked so you don’t throw away something you wanted to donate, etc.

    ... Stay tuned, more to come...

    · ´¨¨)) -:¦:- -:¦:-
    ¸.·´ .·´¨¨)) Live with integrity.... -:¦:-
    ((¸¸.·´ ..·´ Create with passion!
    -:¦:- ((¸¸.·´* -:¦:- NikkiNix

LinkWithin

Related Posts with Thumbnails